


Why You Need a Reversible Glue Joint Bit
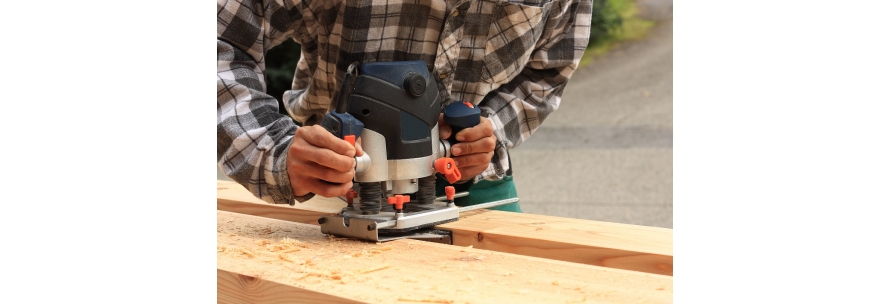
You can glue up flat panels without a glue-joint bit, but there are good reasons not to. It’s difficult to keep boards aligned during clamping. You can end up squeezing most of the glue out of the joints when tightening the clamps. If the boards in a panel are too far out of alignment, you’ll lose a good deal of thickness during planing. Planer snipe can ruin the ends of panels. Oh, and big panels might not fit in your planer. But a reversible glue-joint router bit solves all of these problems.
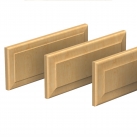
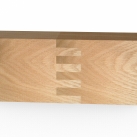
Glue Joints Prevent Bad Glue-Ups
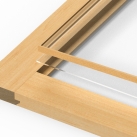
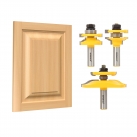
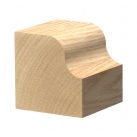
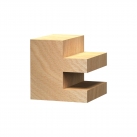
A glue joint bit produces a self-aligning joint. If you’ve ever glued up panels from several narrow boards, you probably know how difficult it can be to keep the faces of all the boards flush. No matter how hard you try, you usually end up with a few joints that don’t line up quite right. That can lead to a lot of planing and sanding. In some cases, it can mean you have to plane the panel much thinner than intended. That can be a problem when you’re shooting for a certain thickness, like ¾”. If your finished panel ends up closer to ⅝”, you might not be able to route the profile you want to use for that panel (although panel-raiser bits like Yonico #12143 can do doors as thin as ⅝”). Thin panels don’t always work right for doors, cabinet or furniture ends, or tabletops. A good glue-up is the key to producing panels that don’t require excessive planing or sanding.
The Most Important Part of Making Panels with a Glue Joint Bit is Setup
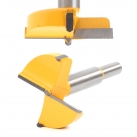
Although a reversible glue-joint router bit makes glue-up easier and prevents boards from shifting when you tighten the clamps, it requires some setup. You’ll need some scrap material to fine-tune the bit height. Poplar is an inexpensive material that’s good to use for setting up and testing router bits. Start by planing all of your stock, including the scrap, to a uniform thickness.
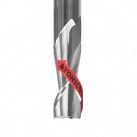
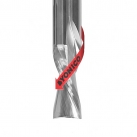
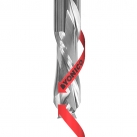
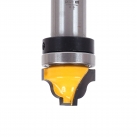
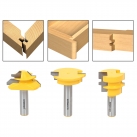
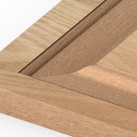
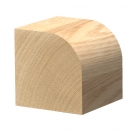
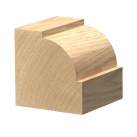
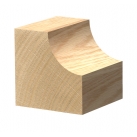
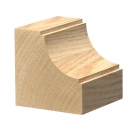
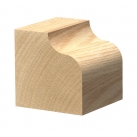
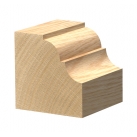
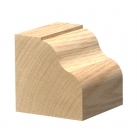
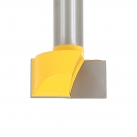
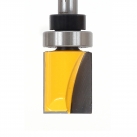
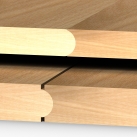
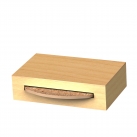
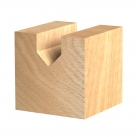
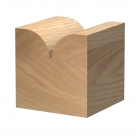
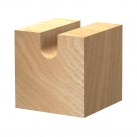
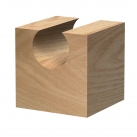
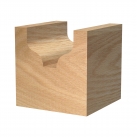
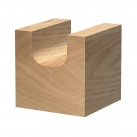
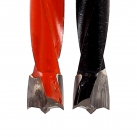
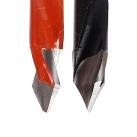
There are two important spots on the router bit to pay attention to during setup. The first is the straight cutting edge at the narrowest part of the bit, close to the shank. This edge should be flush with the router table’s fence. The other point is the center of the cutting edge. You need to align this with the center of the stock thickness. If the bit is off-center by any amount, the faces of the boards will be off by double that. This is where your scrap material is useful.
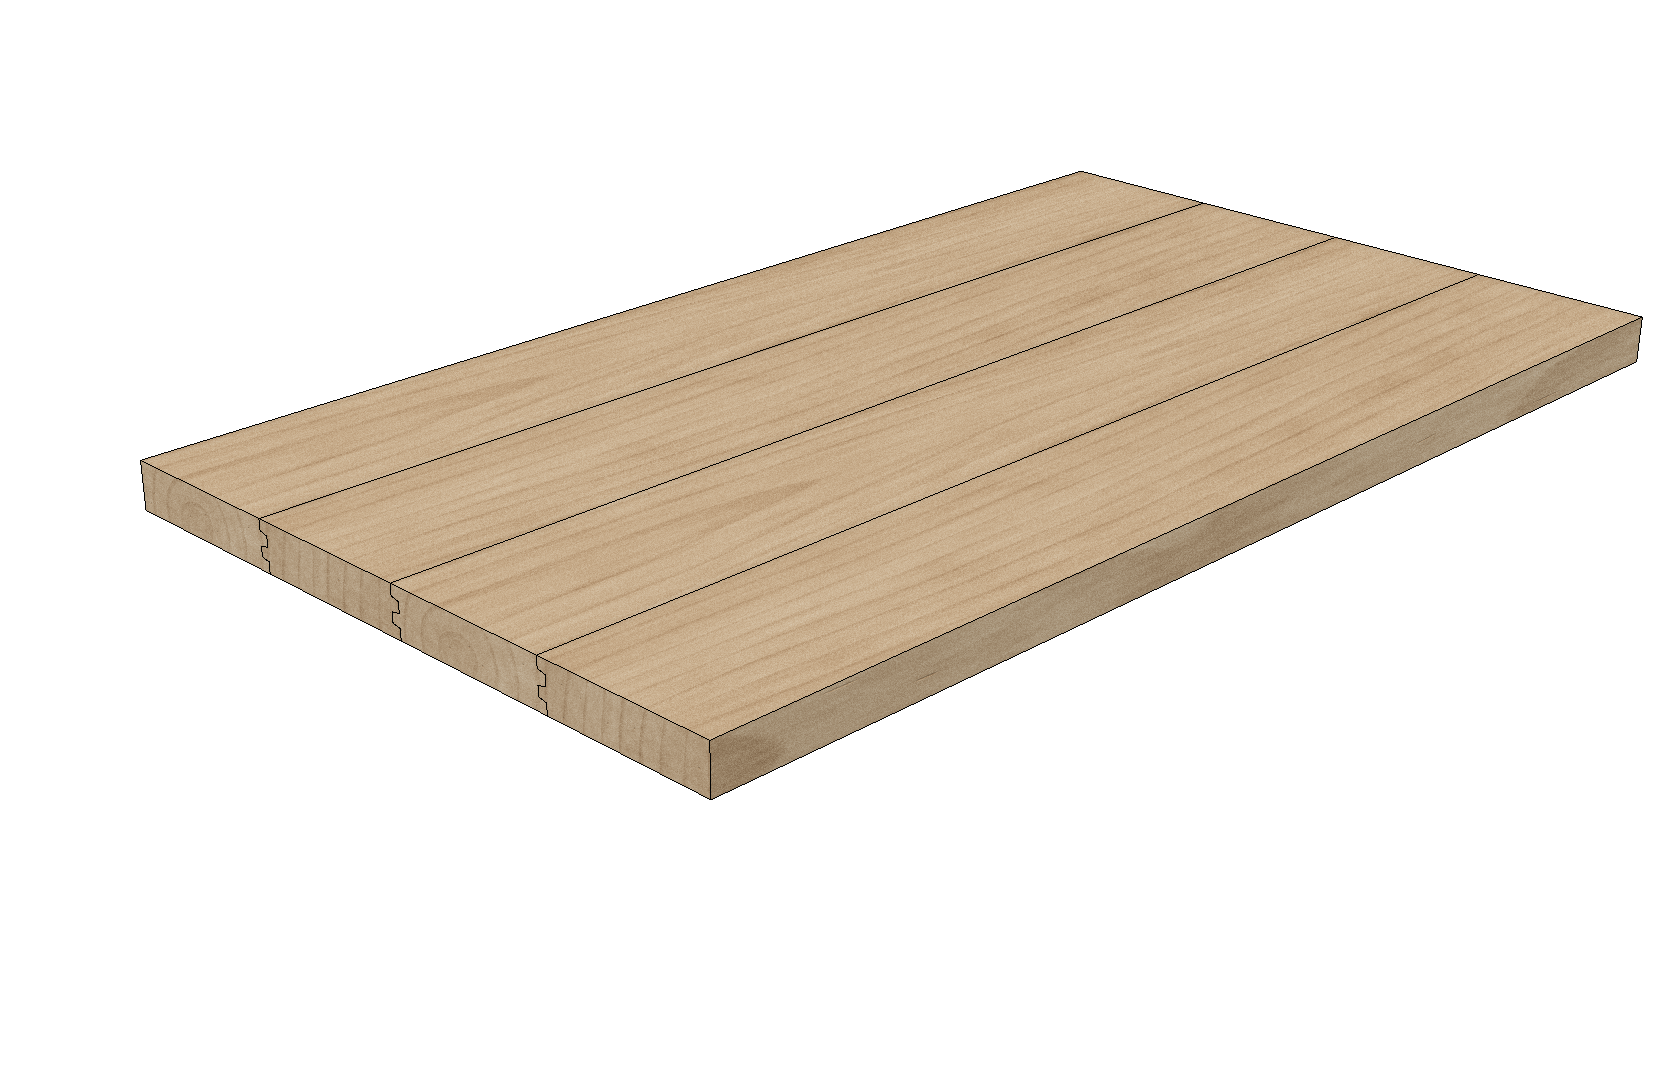
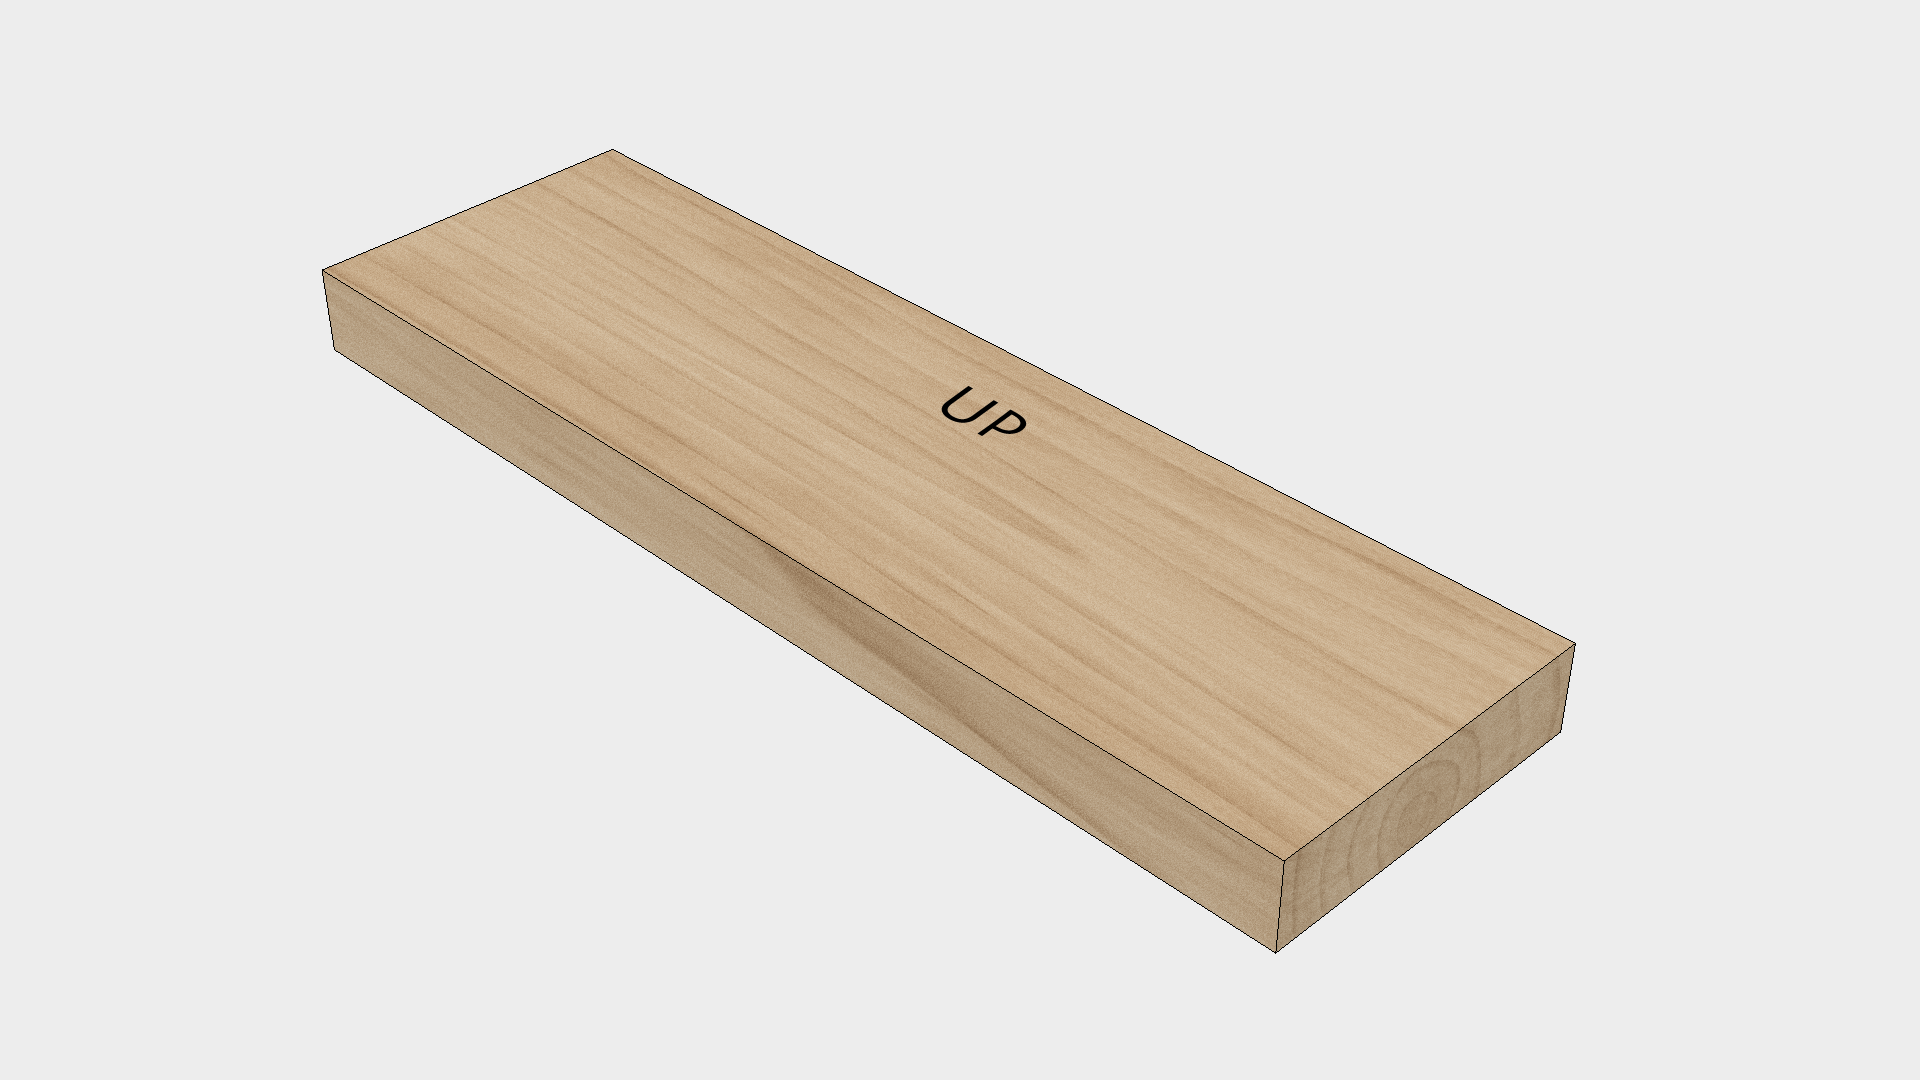
When you think you have the bit aligned with the center of the stock thickness, write “up” on the face of one piece of scrap. Write “down” on the face of another.
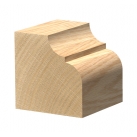
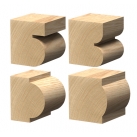
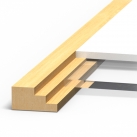
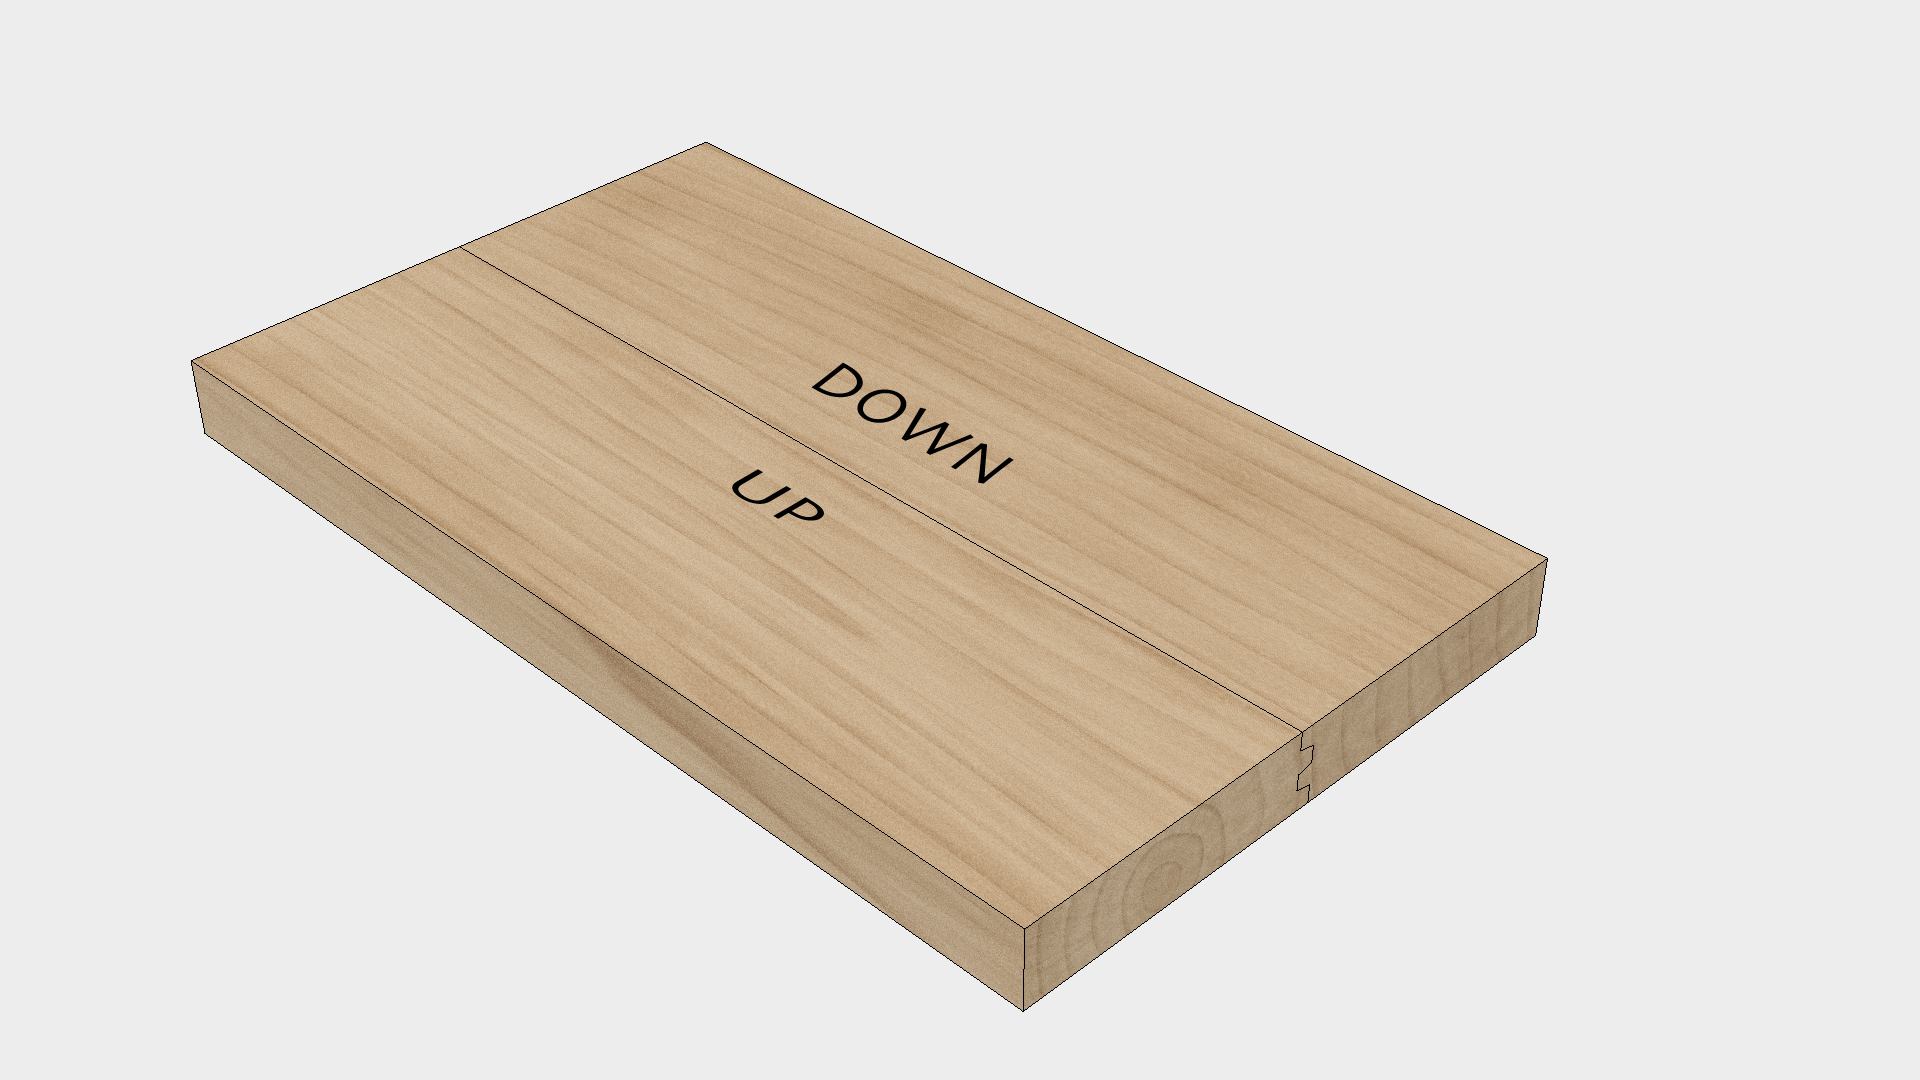
Route one edge of both pieces. You should be looking at the word “up” when routing the first piece. “Down” should be facing the table when you route the second piece. Now test the fit, holding both pieces so the writing is up. You will likely need to move the bit up or down depending on how the faces of the two pieces line up. If the piece marked “down” is too high, lower the bit. If the piece marked “up” is too high, raise the bit. Remember to adjust by half of the difference between the two faces.
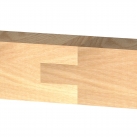
No More Planing Assembled Panels
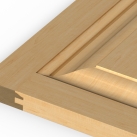
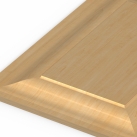
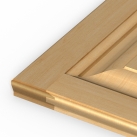
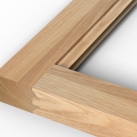
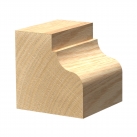
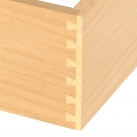
When machined correctly, all of the boards that make up your panel will be flush. There’s no need to plane the assembled panel. You won’t lose any thickness, and there’s no risk of planer snipe at the ends. Don’t be surprised if you get slightly better material yield when using a glue joint bit. And because you don’t have to plane assembled panels, you don’t have to worry about them being too big to fit in your planer. You can make flat tabletops, countertops, door panels, and other wide projects that would be difficult or impossible without a reversible glue-joint router bit.

