

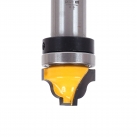
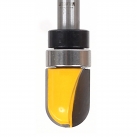
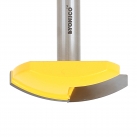
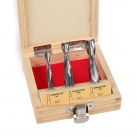


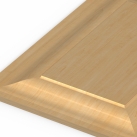
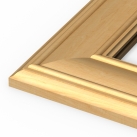
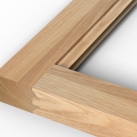

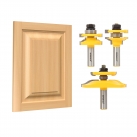
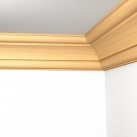
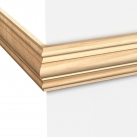
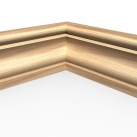
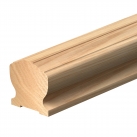


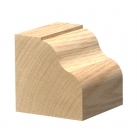
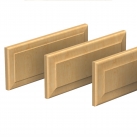


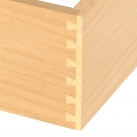


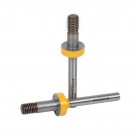
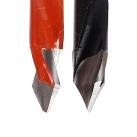
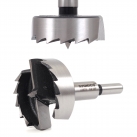
Building Frame-and-Panel Doors

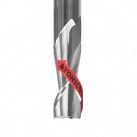
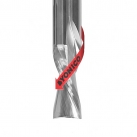
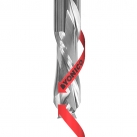
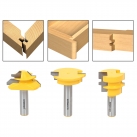
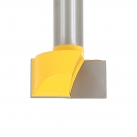
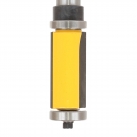
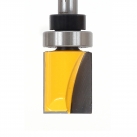
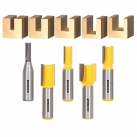
Sometimes a plain slab door looks fine. But cabinets and furniture look so much nicer when outfitted with frame-and-panel doors. Yes, they require more effort to build. But the extra work is worth it. You’ll need a rail-and-stile bit set and a router table. No matter what bits you use, try the following tips to make the process of building doors easy and enjoyable.
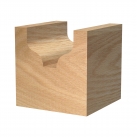
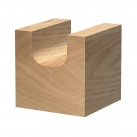
Prevent Tear-out When Routing Rails
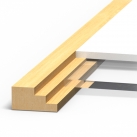
Rails tend to blow out on the back edge during coping. The best way to prevent this is to use a backer board. All you need is a piece of material that’s at least as thick as the stock you’re using for your rails and stiles. A piece of poplar or pine 1x2 makes an excellent backer board. Just screw it to your miter gauge with a couple of #8 wood screws.
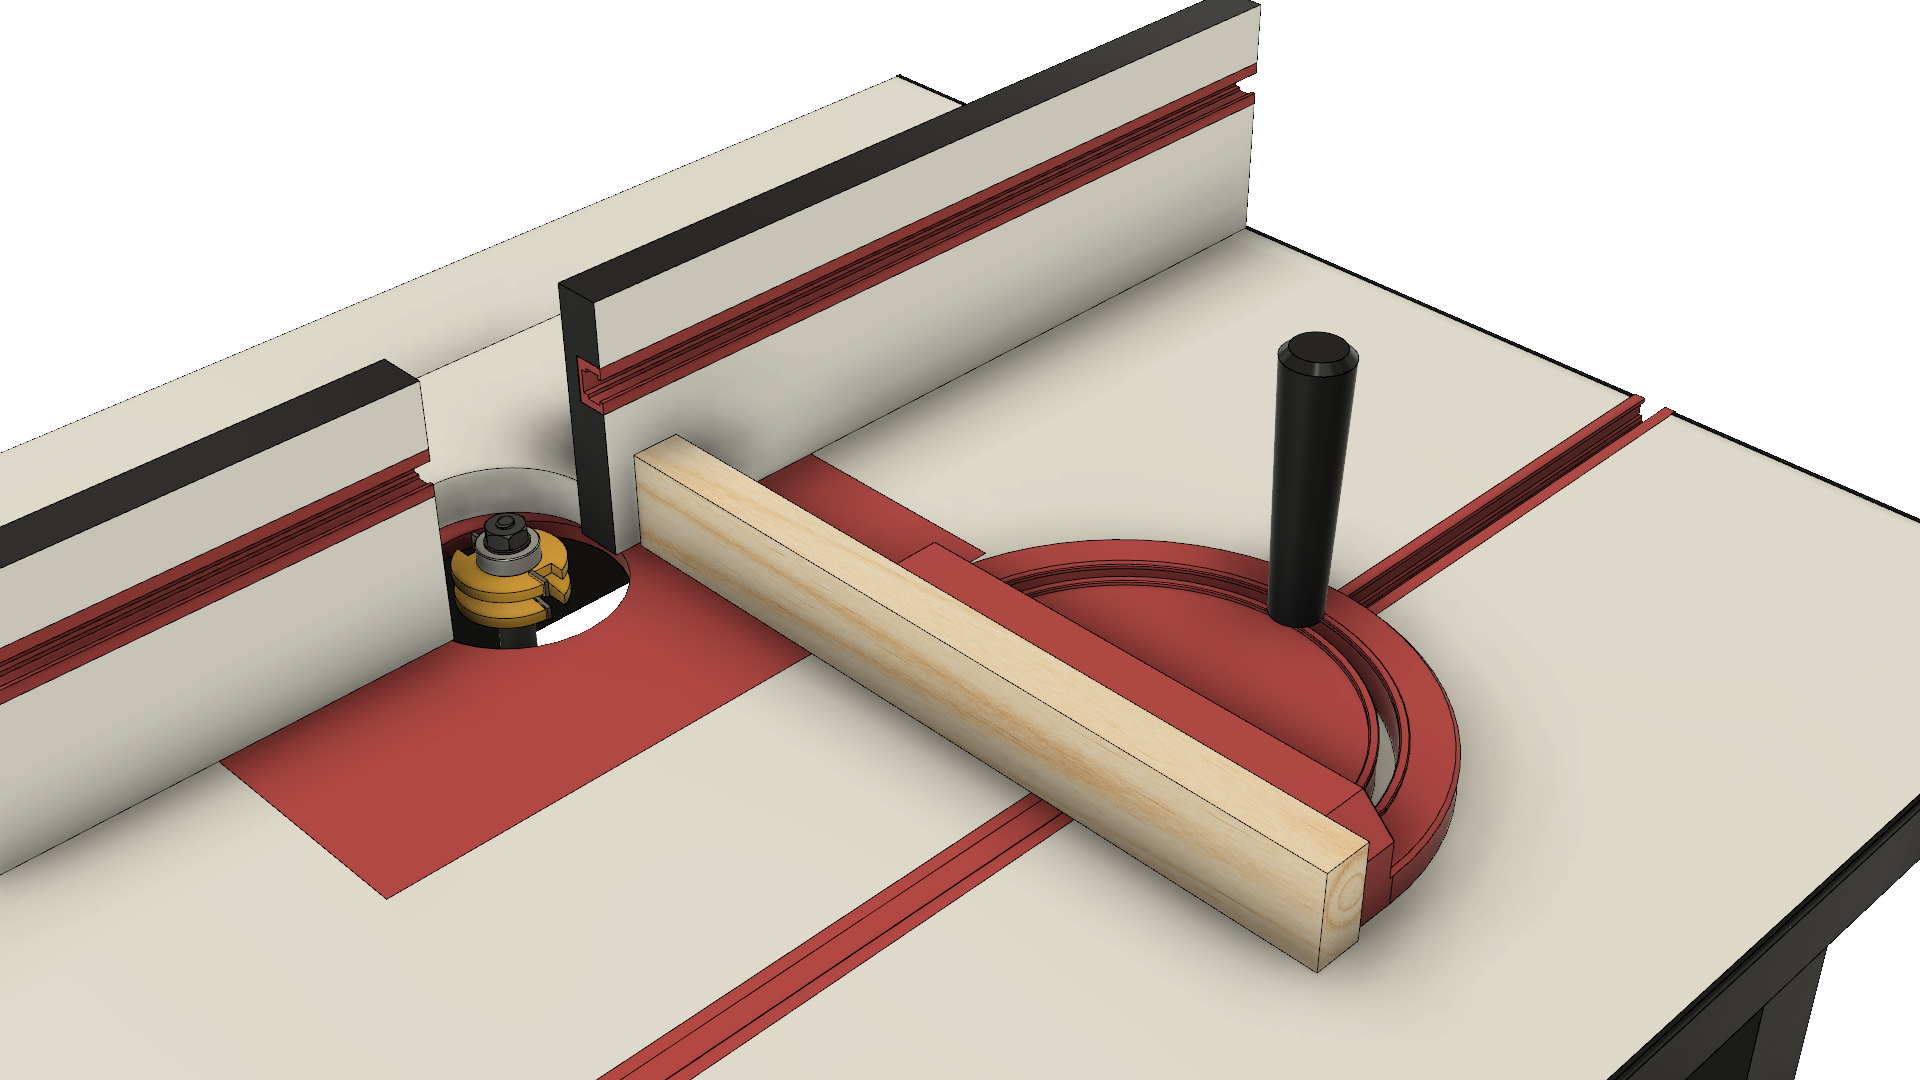
The coping bit will cut through the backer board, but the material around the cut will support the wood fibers of your rail stock. With that one little reinforcement, your rails will come out clean and free of tear-out.
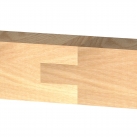
Size Your Rail Stock Properly
Often, the simplest details are also the easiest to forget. When making doors, one thing woodworkers tend to overlook is that they need to factor in extra length to their rails. This extra length is for the tenons—which are usually ⅜” long and routed into both ends. This formula will help you cut rails to the proper length:
Rail length = Total door width - (door stile width * 2) + (tenon length * 2)
The instructions for Yonico 2-piece rail-and-stile router bit sets include a worksheet with this formula to help you figure your rail sizes correctly. Here’s an example of the formula in action.
- Desired door width: 14”
- Stile width: 2-½”
- Tenon length: ⅜”
Rail length = 14” - 5” + ¾” = 9-¾”
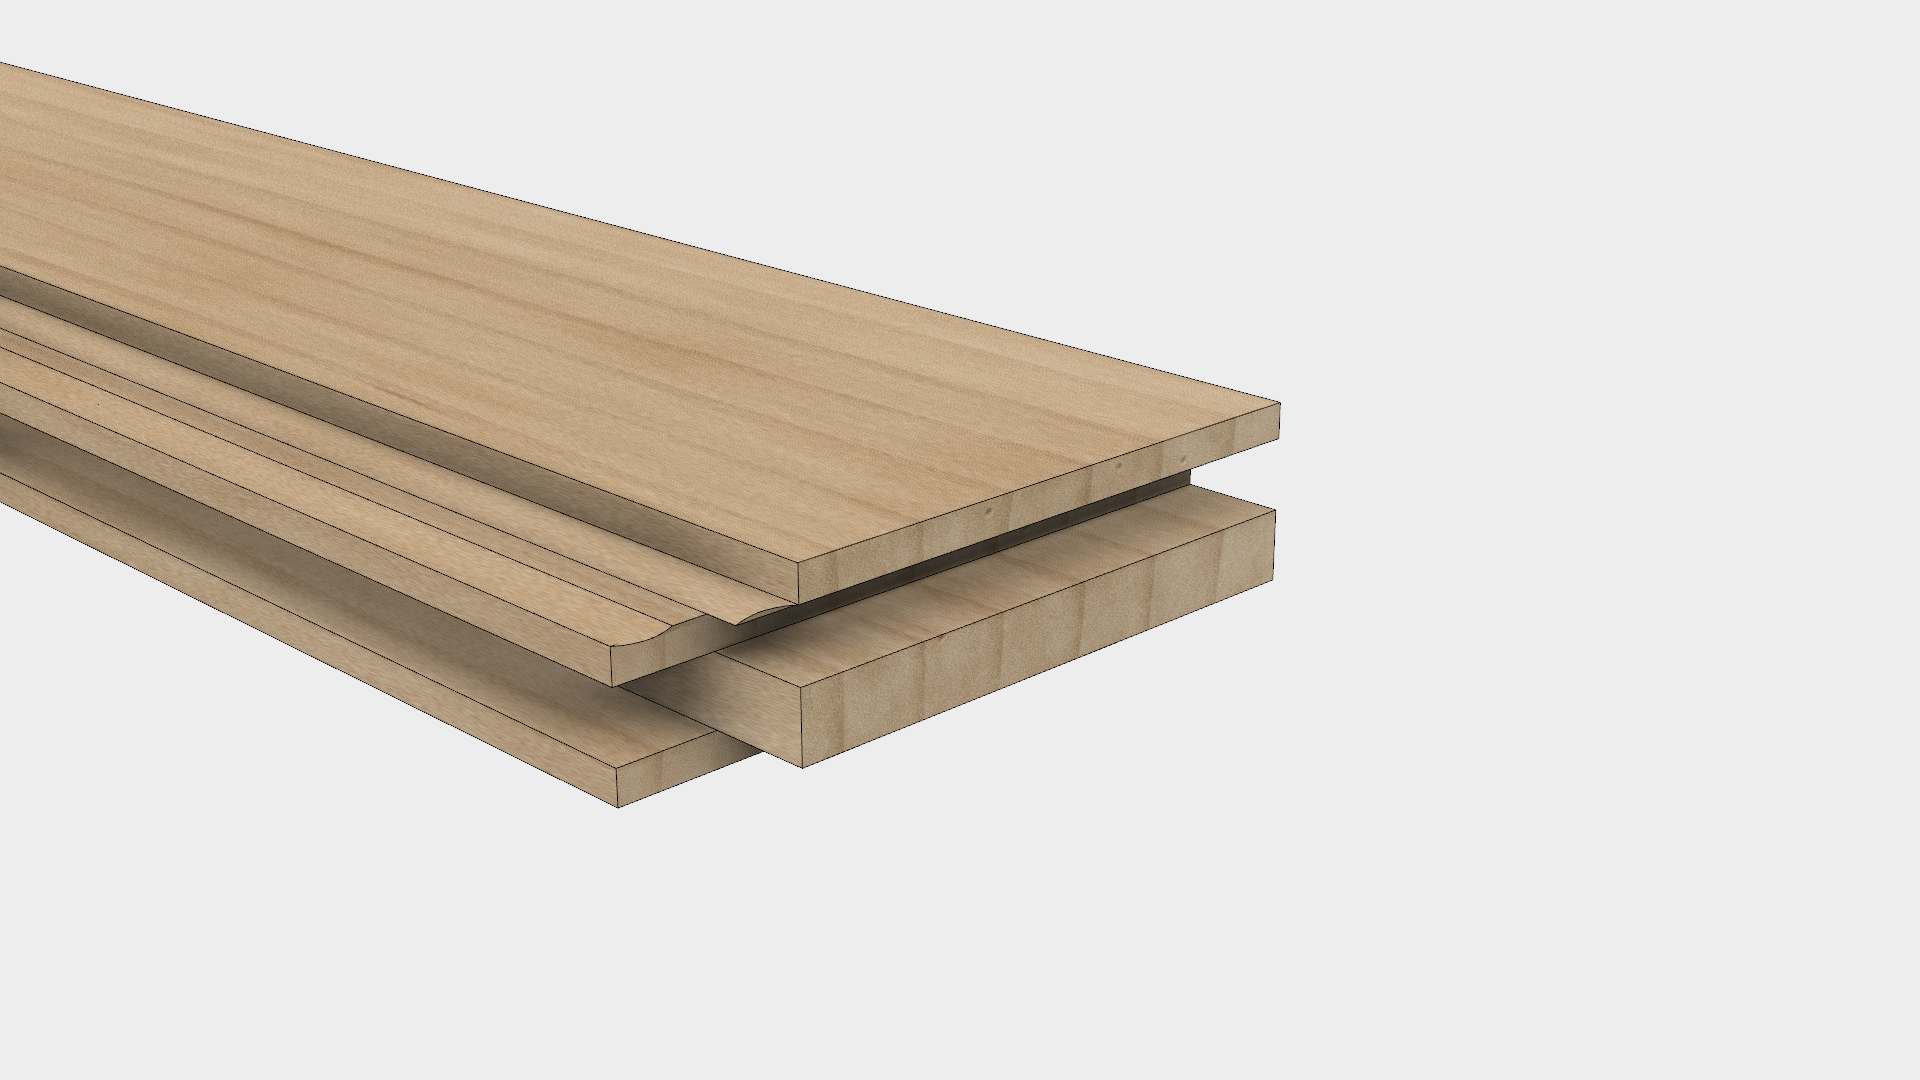
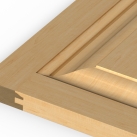
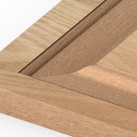
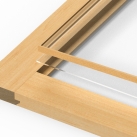
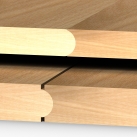
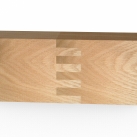
Make sure your panels don’t rattle around
It’s easy to tell when you’ve made door panels too big. The joints of your door frame won’t come together. But you may not know you’ve made a panel too small until you take the door out of the clamps and find that the panel slides around in its groove. Fortunately, there’s an easy way to ensure this doesn’t happen. First, use spaceballs to keep panels in place. Spaceballs are little rubber spheres that fit into the grooves of your rails and stiles. When you clamp a door together, the rubber balls compress and apply pressure to the panel from the top, bottom, and sides. This even pressure centers the panel and prevents movement. To make spaceballs work, you have to allow a bit of extra room in the groove. The company that makes spaceballs recommends 5/16” of space in the horizontal and vertical directions. The formulas below will help you figure your panel dimensions.
Panel width = Rail length - 5/16”
Panel length = Total door length - (door rail width * 2) + (groove depth * 2 ) - 5/16”
You need to account for the depth of the grooves when finding the length of your panels. The grooves for your panels will usually be ⅜”. See the following example.
- Desired door width: 14”
- Desired door length: 22”
- Rail length: 9-¾”
- Groove depth: ⅜”
Panel width = 9-¾” - 5/16” = 9-7/16”
Panel length = 22” - 5” + 3/4” - 5/16” = 17-7/16”
Machine parts in the right order to help prevent tear-out
To minimize tear-out, cope the ends of the rails before doing any other machining. If you cut the tenons first, you’ll end up with tear-out on one end of each rail, right on the profile. This is because the face of the backer board is flat, but the profile is shaped. The surfaces of these pieces don’t meet up, so there’s no support behind the rail.
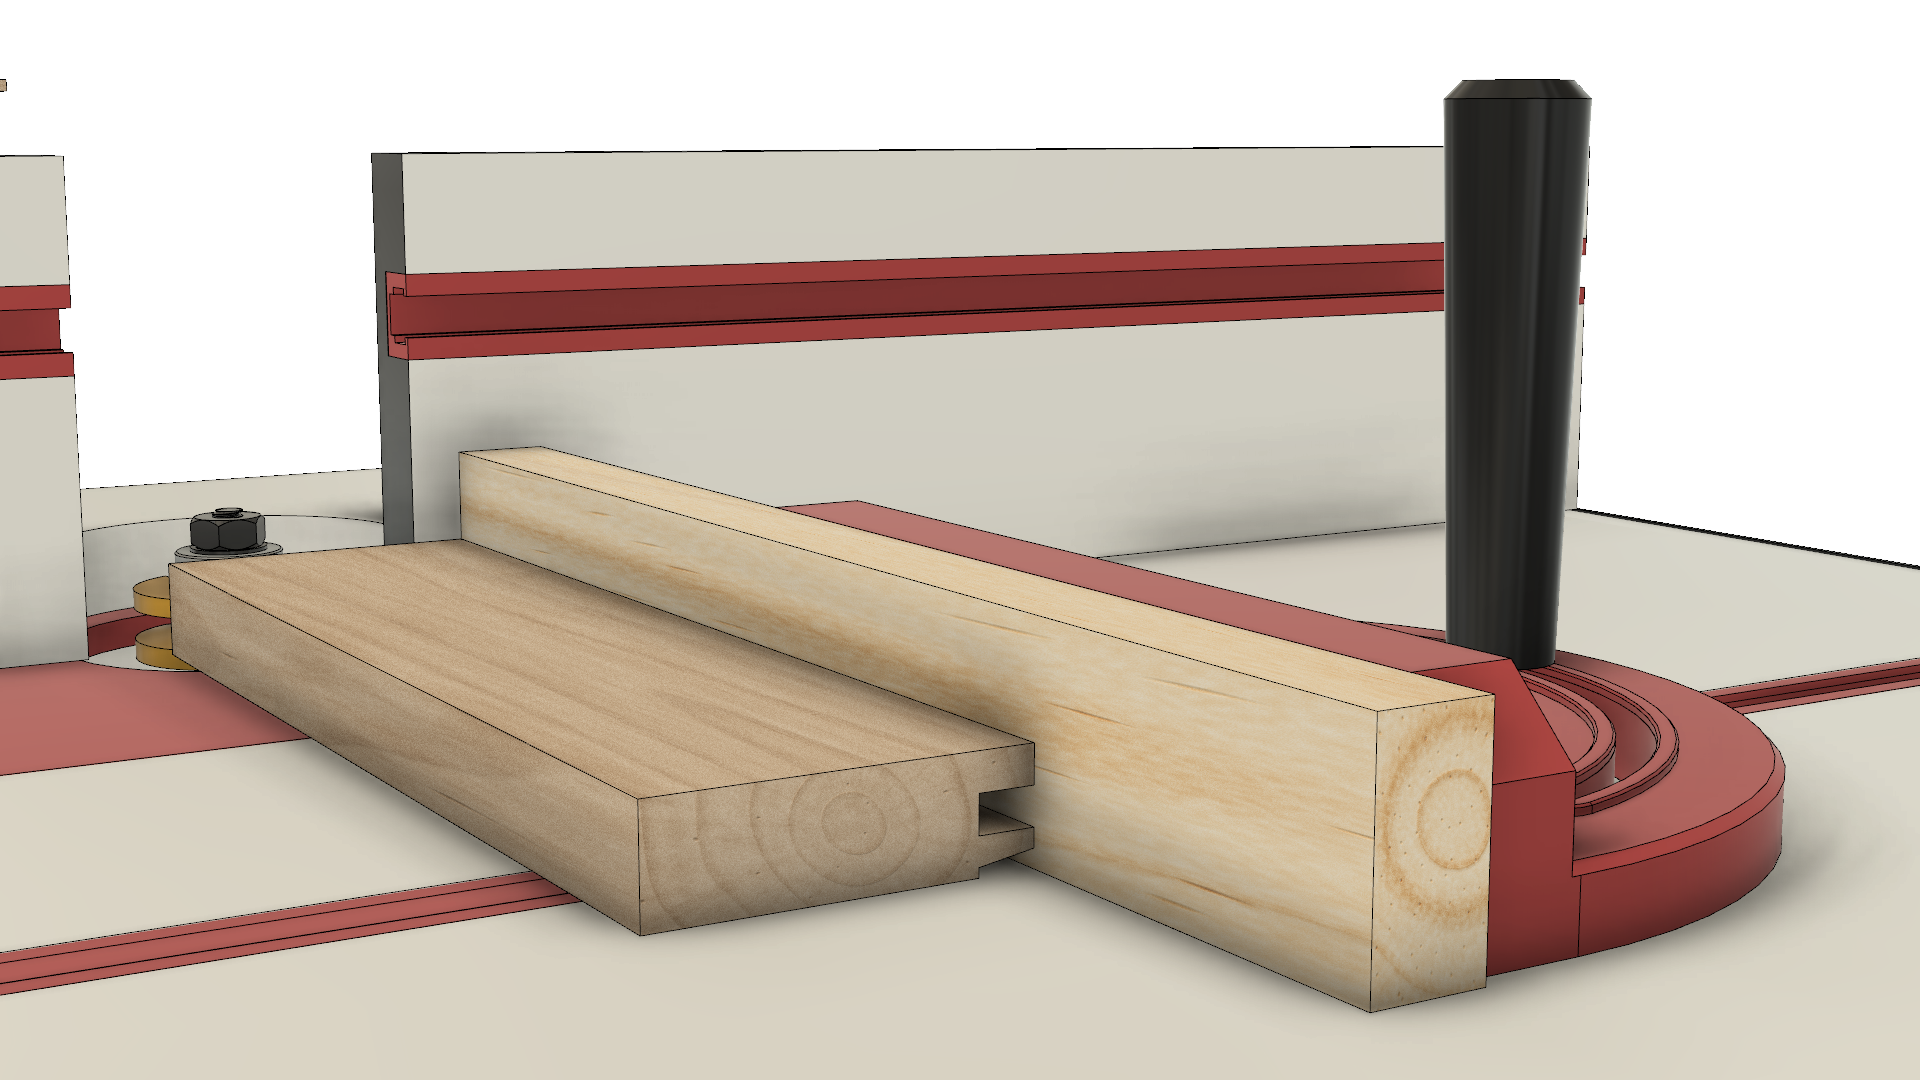
Tip: Whenever you need to route all four edges of a board, you should always do the ends first. Then come back and route with the grain. Your end passes will produce some tear-out at the corners. But the router bit will remove this when you route along the edges. This does not work the other way around. Remember, route end grain first.
Finally, check for square before the glue is dry
Doors need to be square to work properly, especially if they’re going to be set into a face-frame or opening. If your cuts are square at all ends of the stock, you should have a fairly easy time keeping a door square during assembling and clamping. Before walking away from a clamped door, check the inside corners with a square. You can also check for square by measuring diagonally. Hook your tape measure on the far left corner of the door. Measure to the near right corner. Then hook the tape on the far right corner and measure to the near left. The measurements should be the same. If they’re not, you can place a clamp on top of the door from corner to corner, just like you did with the tape measure. Turn the clamp handle just a bit. That will pull the door square. If you go too far, you can stretch the clamp across the other corners and repeat.

